How to Make Plush Fabric Pumpkins Free PDF Pattern and Tutorial
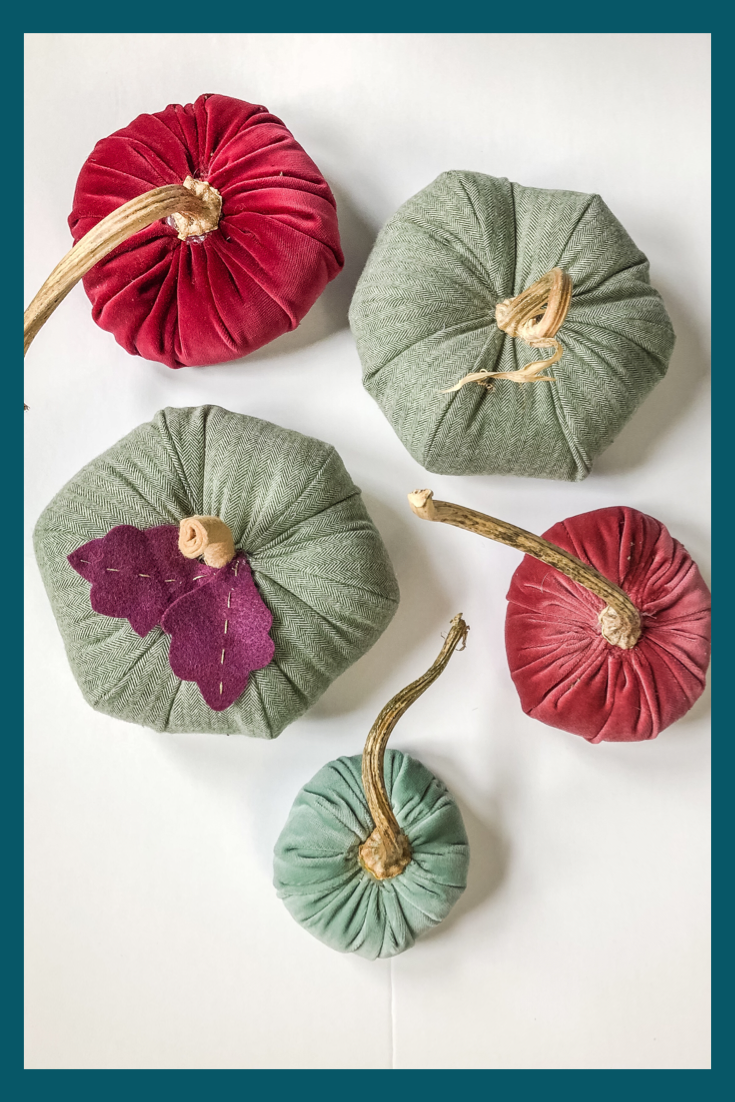
Happy Thanksgiving! Since most of us will be home this year to celebrate, and needing some festive decor, I’ve got a fun DIY for you. This tutorial is a bit of an update from one that I wrote a few years back. The construction and pattern are the same, but I’ll walk you through a few other options for stems. Plus, like the velvet pumpkins that I love to make and gift each year- we can tuft these to give them a more organic pumpkin-y shape.
How to Make a Plush Fabric Pumpkins Free PDF Pattern and Tutorial
Materials to Make a Plush Fabric Pumpkin
1/4" of mid-weight fabric (I have used velvet, flannel, silk and cotton.)
Scissors
Thimble (Trust me on this one!)
A pumpkin stem that has been dried OR a small piece of tan felt and a pipe cleaner.
Poly-fill stuffing
Optional: Felt for leaves to add a bit of embellishment
Hot Glue Gun and Glue Sticks
I’m Stuffed Plush Pumpkin PDF Pattern
Notes:
Once you print the pattern, measure the scaling square to be sure that it measures 1".
Follow the original tutorial until you get to the step where you insert the stem (stick).
Picture order Left to right, top to bottom.
Cut a 45” length of thread.
Thread needle, doubling over and tie ends into a double knot..
To begin stitching, try to Insert the needle into a seam allowance just inside the pumpkin. Make a small stitch or two to secure.
Using a running stitch about 1/4”-1/2” long, stitch around the opening of the pumpkin.
Pull threads to cinch and tie.
Restitch through each gather of fabric around opening.. Tie and knot to secure.
Do not cut the thread!
Tufting time!
Take the needle and pushit through the center of the pumpkin directing it to come out at center of the bottom. If you don’t already have a thimble on- get one STAT.
Put needle through the center bottom, and turn to sew back up through the center top opening. To help anchor the thread, I take a small stitch just over the lip of the opening each time I pull the needle up. Then when I turn the needle and stitch straight back down, this little step helps to neaten the draw of the fabric.. Pulling the thread taut. Repeat a few times until the pumpkin is the size and shape that you desire.
Knot to secure. Trim thread and tuck inside pumpkin.
Stems
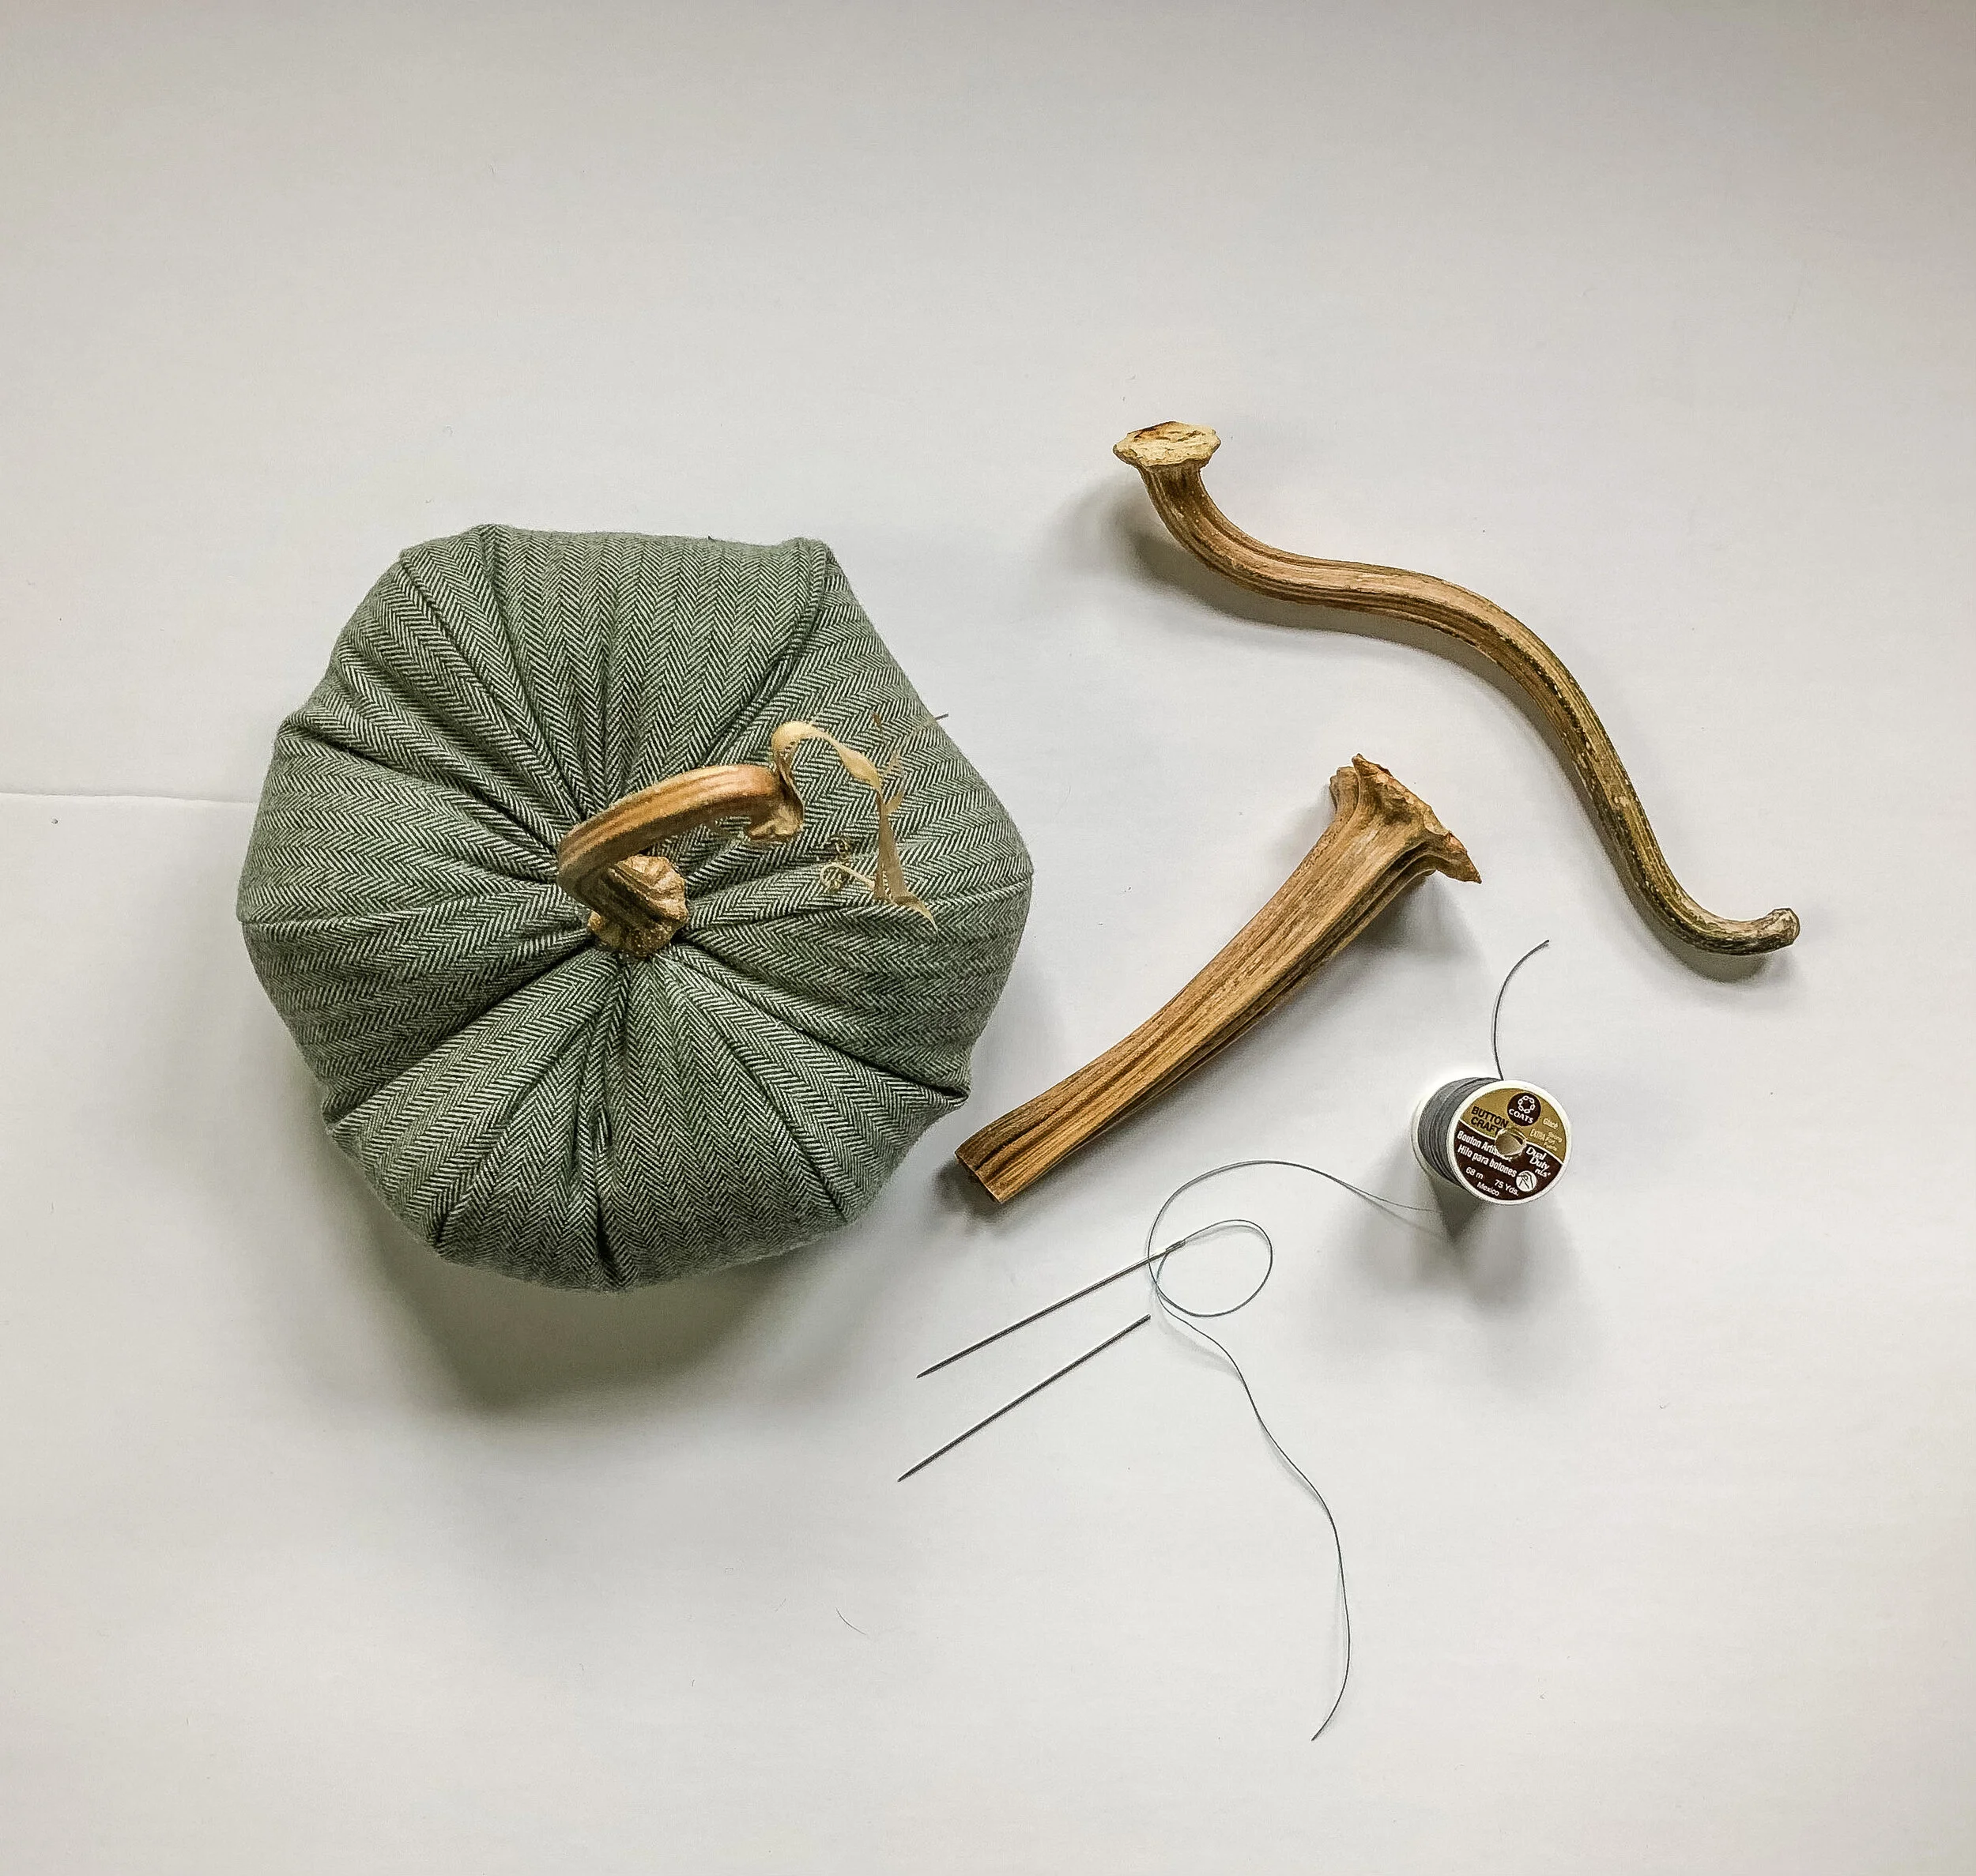
How to dry a natural pumpkin stem
Each Autumn, I prowl pumpkin stands for beautiful stems that beckon to be preserved, After the pumpkin has sat on my porch for weeks, I carefully cut around the stem, remove it and get as much pumpkin flesh off as possible. Then I let them air dry for several days. Once they seem light and dry, I put them on a cookie sheet and bake in the oven at a really low temperature (about 225 degrees) for about an hour. This dries out the stem and kills the bugs.
*I encourage you to do a web search to discover other methods of drying.
Take a dry (and baked!) pumpkin stem. Check the bottom to make sure it is somewhat smooth and even. If not, lightly sand with sand paper.
Add bit of glue to the center of opening. Set stem and hold until dry.
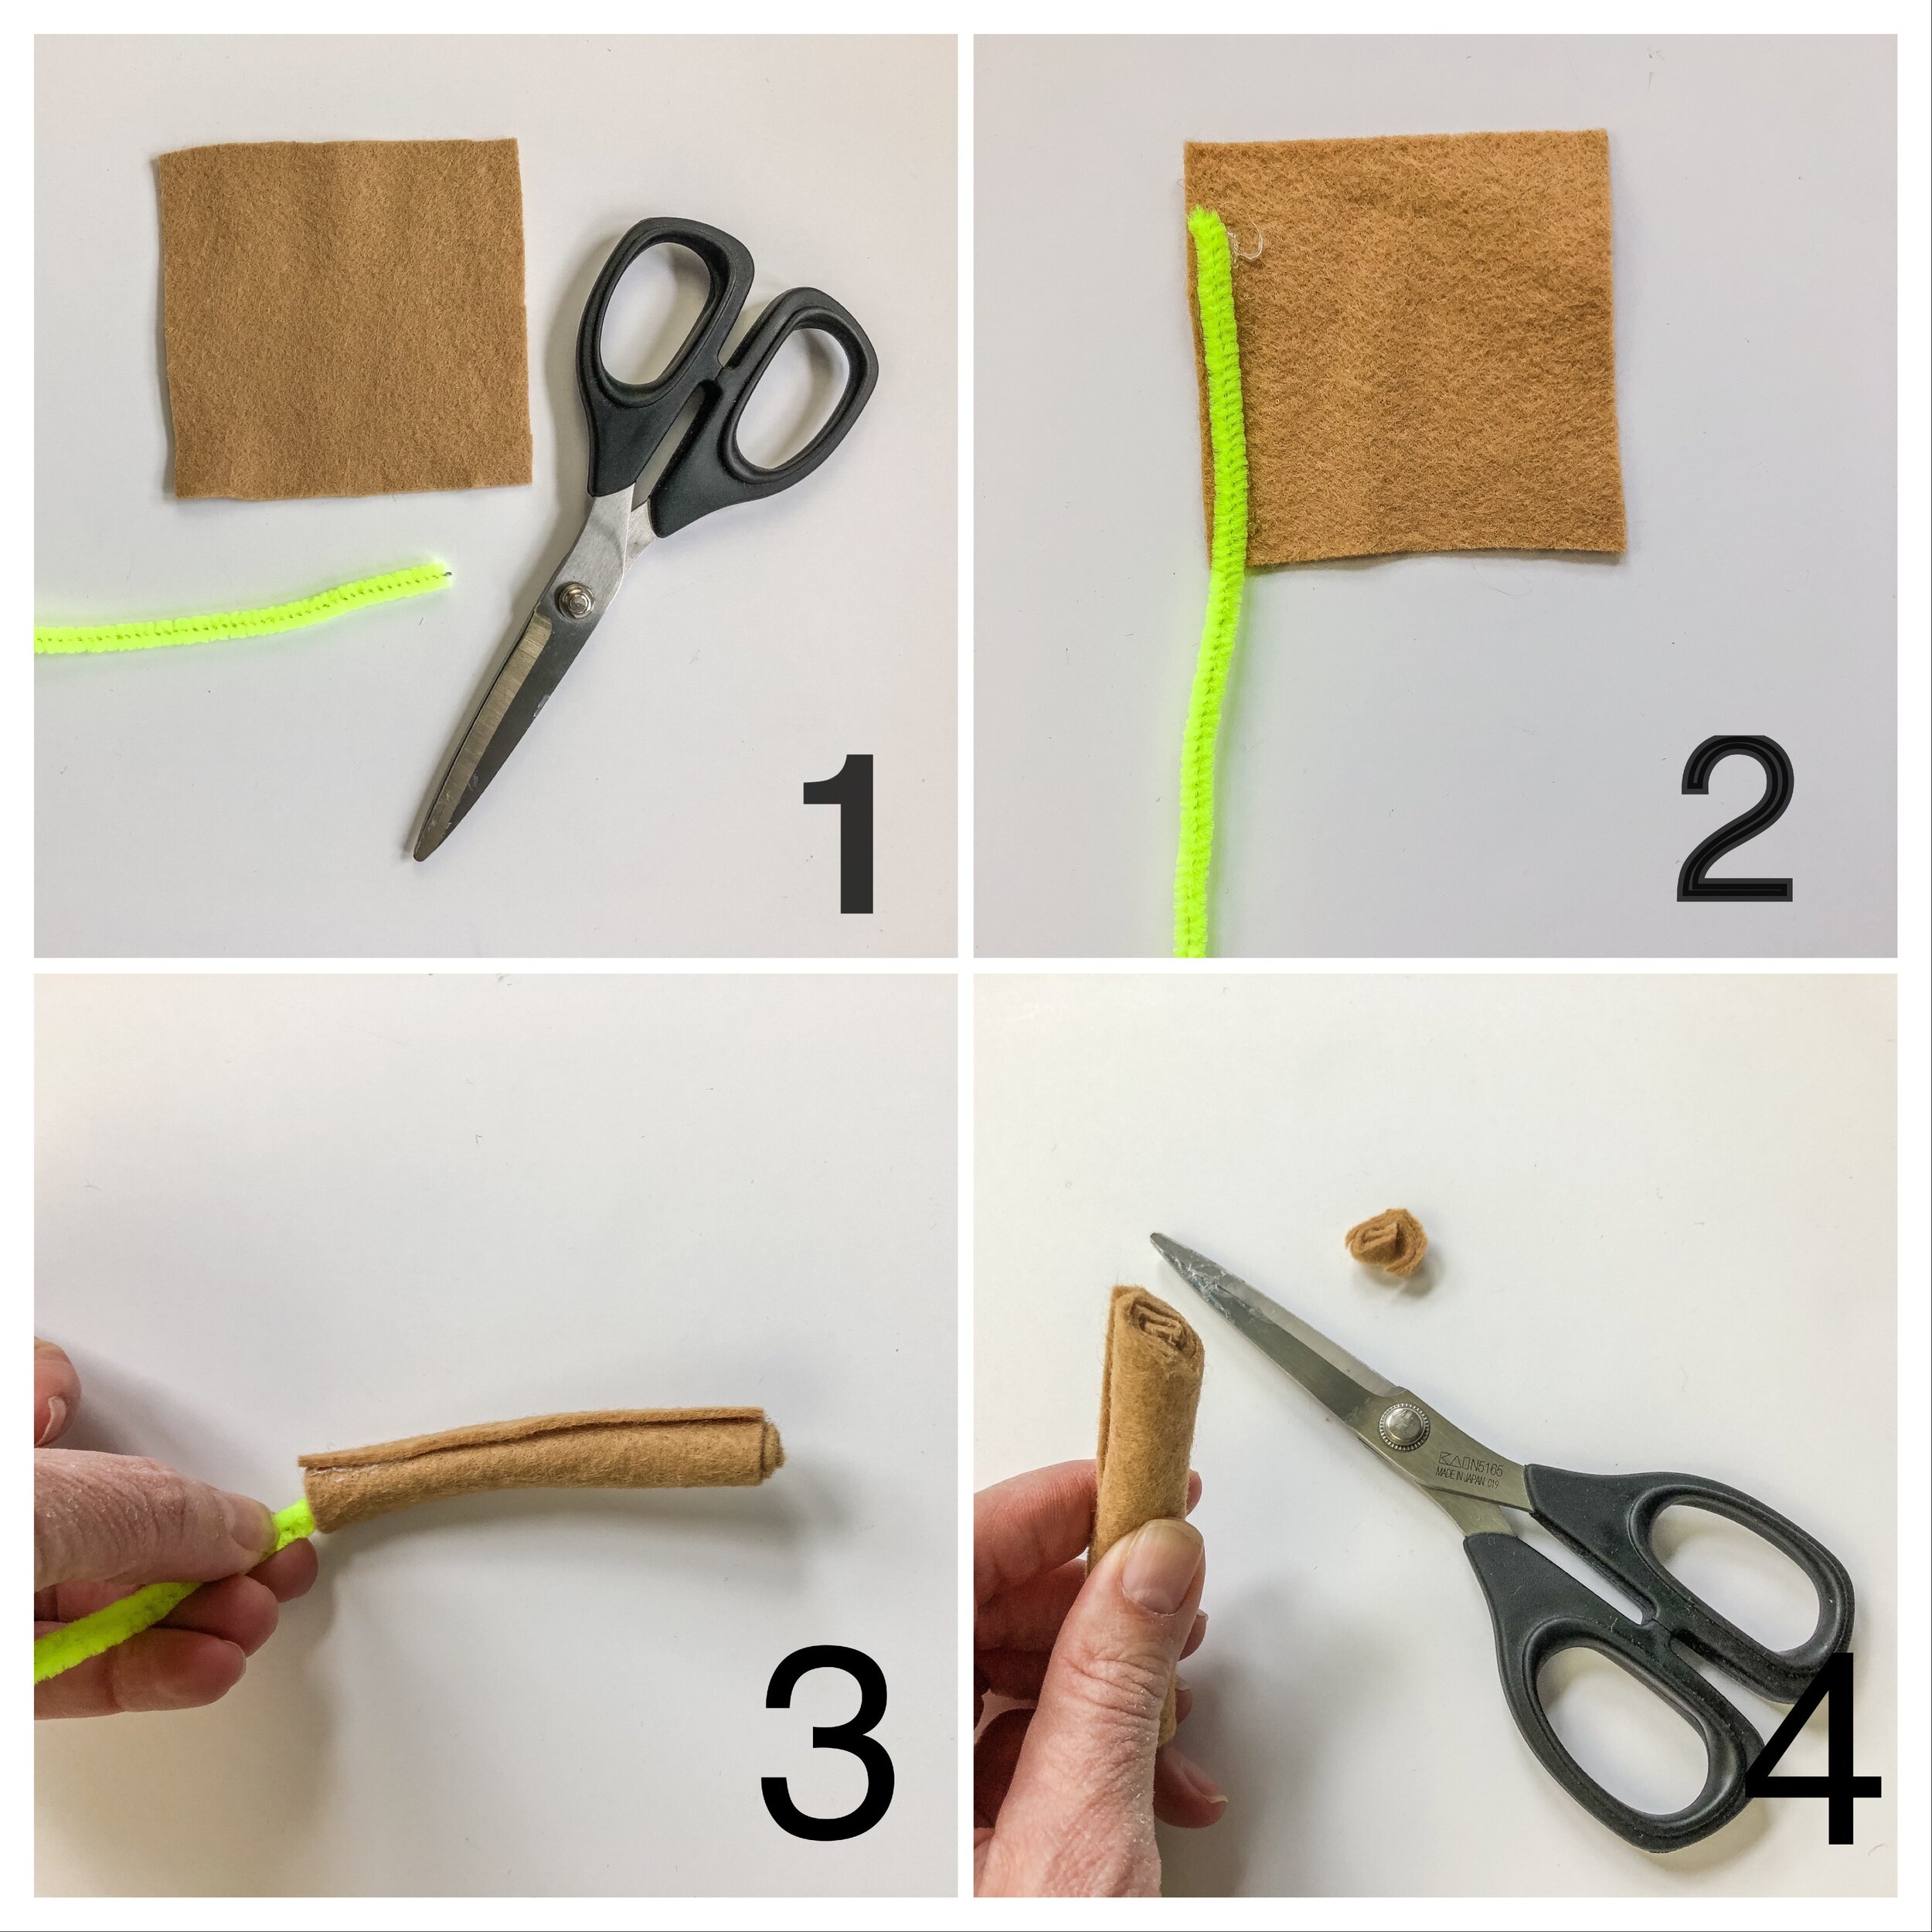
How to make a stem from felt and a pipecleaner
Materials
Small piece of felt
Pipe cleaner
Glue
Old Scissors
1. Cut felt into a 4” X 4” square
2. Align and glue pipe cleaner along one side of the felt square.
3. Hold onto the pipecleaner while tightly rolling the felt.
Apply glue to secure.
4. Cut the stem at a 45-degree angle.
To help anchor the stem into the pumpkin, bend the part of pipe cleaner that sticks out in half before inserting.
Insert into pumpkin. Add a bit of glue to secure.
Bend the felt stem to a pleasing shape..
Please be gentle with yourself and those that you love. Find some space and time to rest and don’t forget to call your mom.
Happy Thanksgiving!
XO, Hilarie
Last year’s harvest.


